
Get Your Instant Quote Now!
Get Started
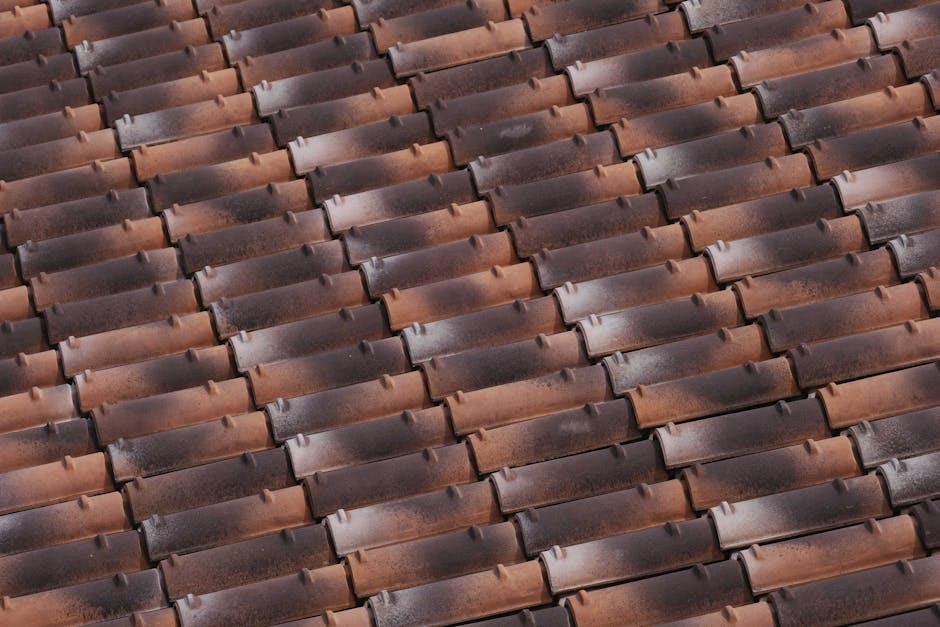
Fixing ridge tiles is essential to prevent leaks, protect your roof structure, and avoid costly water damage to your home. Ridge tiles are the curved or angled tiles that run along the very top of your pitched roof where two slopes meet—and when they fail, your entire home is at risk.
Quick Answer: How to Fix Ridge Tiles
Important: According to British Standards (BS 5534:2014+A2:2018), mortar bedding alone is no longer sufficient—mechanical fixing is now required for all new or replacement ridge tile work. Almost 70% of roof failures are mortar-related, making proper installation critical.
Ridge tiles might seem like a small detail, but they're your roof's first line of defense against wind-driven rain, heat loss, and moisture infiltration. When mortar crumbles or tiles become loose—especially common in older Metro Atlanta homes—water can seep into your roof structure, leading to rot, mold, and expensive interior damage.
Whether you're dealing with storm damage, aging mortar, or tiles that have simply reached the end of their lifespan, understanding your repair options will help you protect your family's most valuable investment.
Identifying issues early can save you thousands in structural repairs. Because the ridge is the highest point of your home, it bears the brunt of Metro Atlanta’s storms, high winds, and intense summer heat. Over time, these elements cause the materials holding your roof together to fatigue.
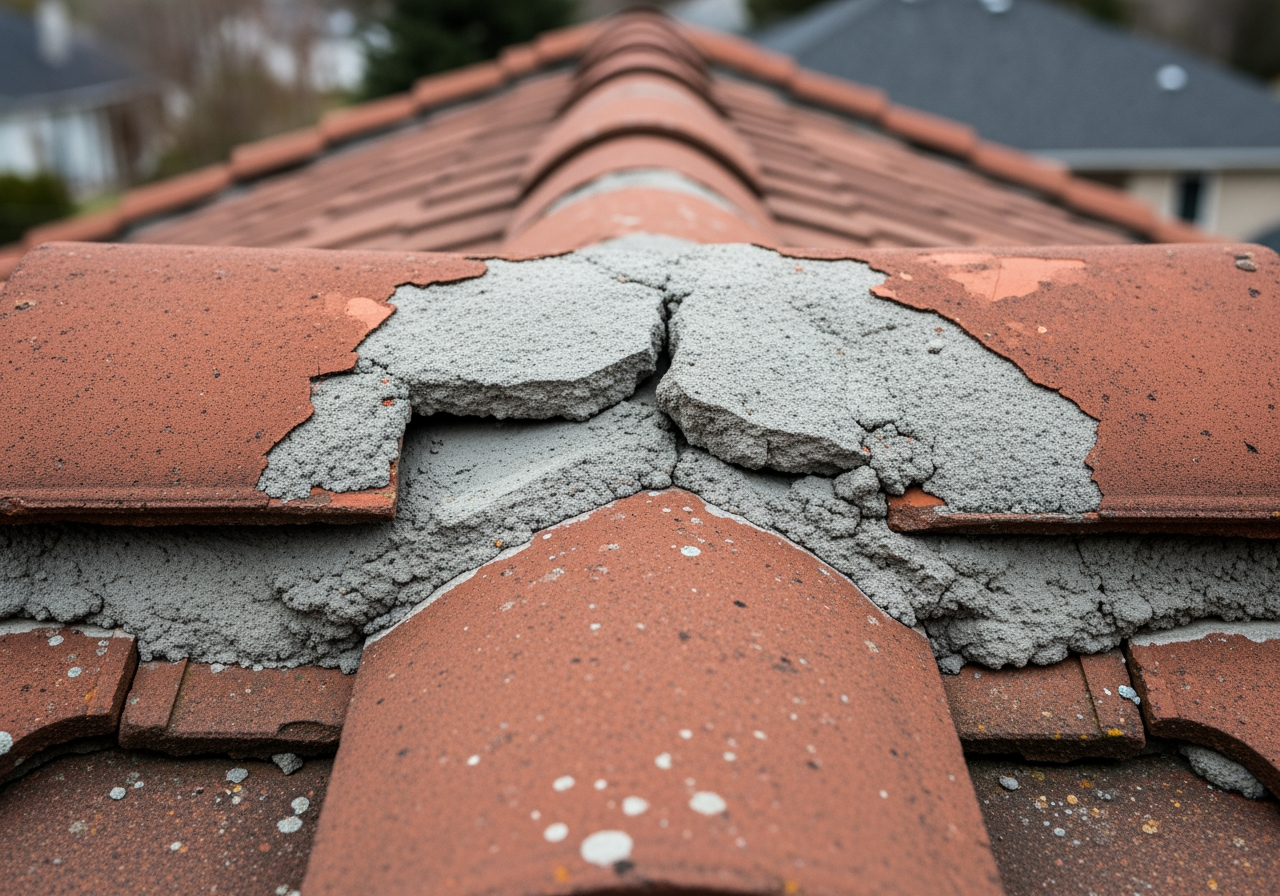
One of the most obvious signs is crumbling mortar. If you see small chunks of gray, sandy material in your gutters or on the ground around your perimeter, your ridge tile bedding is likely failing. This mortar acts as the "glue" for your ridge, and once it becomes brittle, the tiles are no longer secure.
Other warning signs include:
For a deeper look at how these parts interact, check out our guide on What Makes Up Your Roof: A Guide to the Components of a Roof.
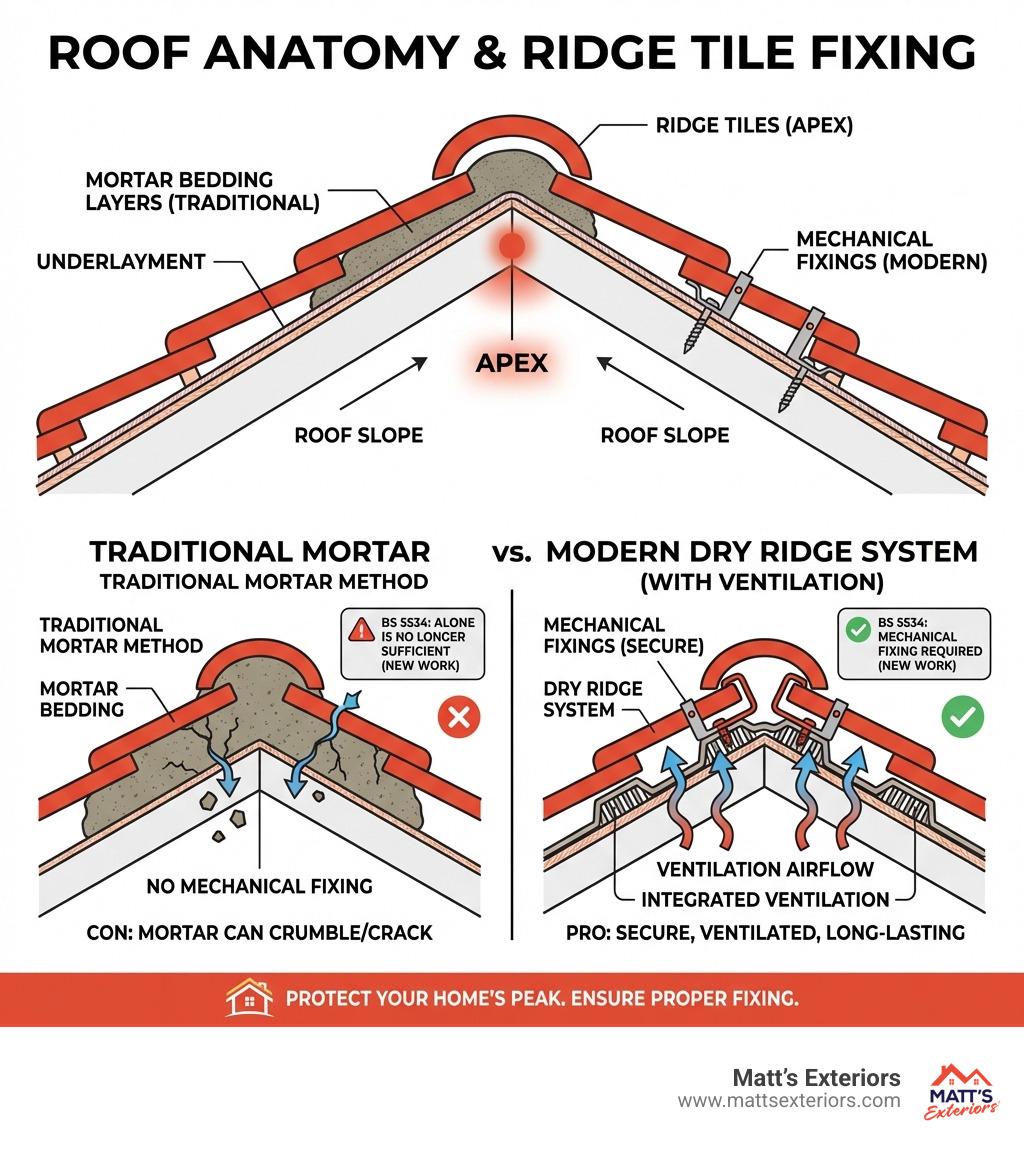
When it comes to fixing ridge tiles, you generally have two choices: the traditional mortar method or a modern dry fix system.
Historically, mortar was the only way to go. However, industry data shows that almost 70% of roof failures are mortar-related. Mortar is "wet," meaning it’s susceptible to cracking as your house naturally shifts and settles—a process known as thermal movement.
The modern alternative is the Dry Ridge System. Instead of using "mud" to hold tiles down, this system uses mechanical fixings (screws and clamps) and a ventilated waterproof roll.
Feature Mortar Bedding Dry Fix System Installation Skill-intensive, weather-dependent Faster, can be installed in light rain Durability Prone to cracking (2-year typical guarantee) Long-lasting (10-15 year guarantee) Ventilation None (unless using special vented tiles) Built-in continuous ridge ventilation Compliance Requires additional mechanical fixings Fully compliant with BS 5534 Maintenance High (requires repointing over time) Virtually maintenance-free
As experts in Roof Replacement, we’ve seen the shift toward mechanical fixing firsthand. The updated BS 5534:2014+A2:2018 Code of Practice stipulates that mortar alone is no longer sufficient. If you choose mortar, you must still use mechanical screws or clips to ensure the tiles don't fly off during a storm.
Roof work is inherently dangerous. Before you even think about fixing ridge tiles, you must prioritize safety. Falls from heights are a leading cause of injury in the home improvement industry.
Safety First Checklist:
Required Tools:
For more detailed equipment advice, you can reference How to fix ridge tiles - Roofing Superstore Help & Advice.
If you’ve decided to tackle this project yourself, preparation is 90% of the job. Whether you are using mortar or a dry fix kit, the ridge must be clean and stable.
First, you must remove the old, failed materials. Start at the end of the ridge opposite your ladder access. Use a hammer and chisel to gently tap the old mortar away. Be careful—you don't want to crack the expensive field tiles (the main roof tiles) below.
Once the old ridge tiles are lifted, chip off every bit of old mortar from both the roof and the underside of the ridge tiles if you plan to reuse them. Brush away all dust and loose debris. A clean surface is the only way the new mortar will bond. Pro tip: Soak your ridge tiles in a bucket of water before laying them. If they are bone-dry, they will suck the moisture out of the mortar too quickly, causing it to crack and fail.
The "secret sauce" for fixing ridge tiles with mortar is the mix ratio. We recommend a 3:1 ratio of sharp sand to cement.
If you're using a dry ridge kit, the process is more mechanical:
Ridge tiles are stronger than they look, but they are brittle. A 200-lb roofer can often stand on them if they stay on the overlaps (where the tile is double-thickness). However, for a DIYer, it is much safer to stand in the "valleys" of the roof tiles or use a crawl board to distribute your weight. Never put your full weight on the center of a single ridge tile, as it can snap like a biscuit.
Mortar takes about 24 hours to reach 60% of its total compressive strength. During this window, it is vulnerable to heavy rain (which can wash it away) or extreme heat (which can dry it too fast). If it’s a scorching Georgia summer day, consider covering the new ridge with a damp sheet to slow the drying process.
While a simple loose tile can be a DIY weekend project, you should call us for:
At Matt’s Exteriors, we’ve seen how a small gap in your ridge tiles can lead to big headaches for Metro Atlanta homeowners. Whether you’re in Alpharetta, Marietta, or McDonough, your roof is your home’s most important shield. Fixing ridge tiles correctly—using modern mechanical standards—is the best way to ensure that shield remains impenetrable.
As a family-owned company with over 12,000 successful projects since 2007, we take pride in high-quality workmanship and exceptional customer care. If your ridge looks a little weary or you've spotted crumbling mortar in your gutters, don't wait for the next big storm to find out if your roof is ready.
Schedule a Roof Replacement or Inspection with Matt’s Exteriors today and let our family protect yours.