
Get Your Instant Quote Now!
Get Started
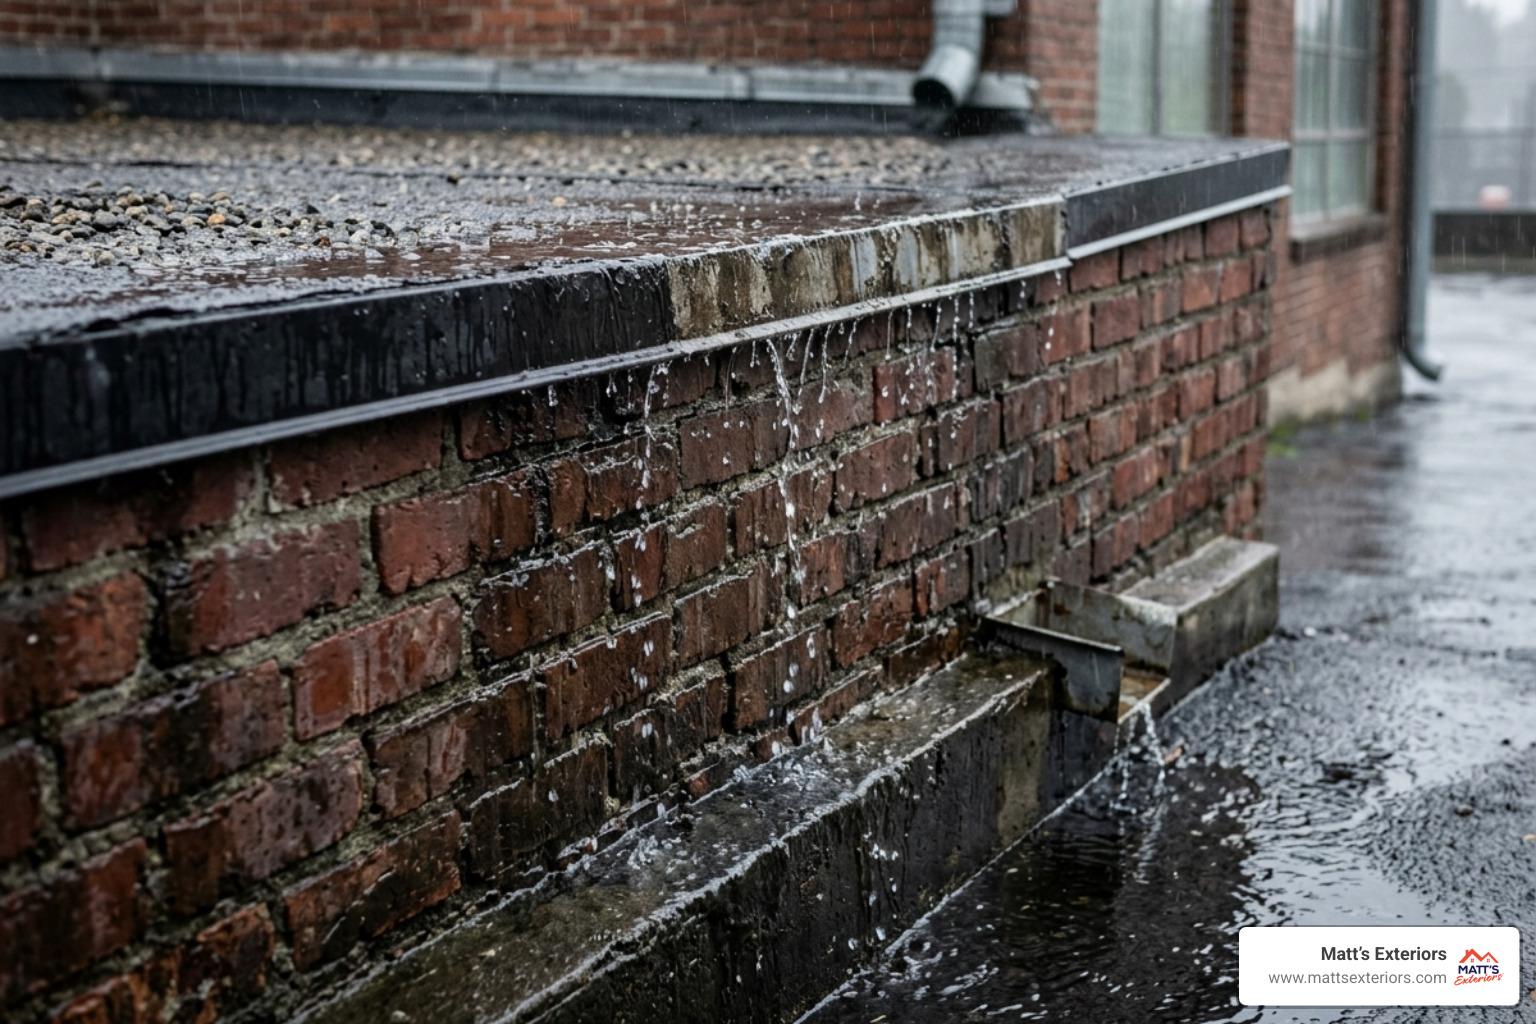
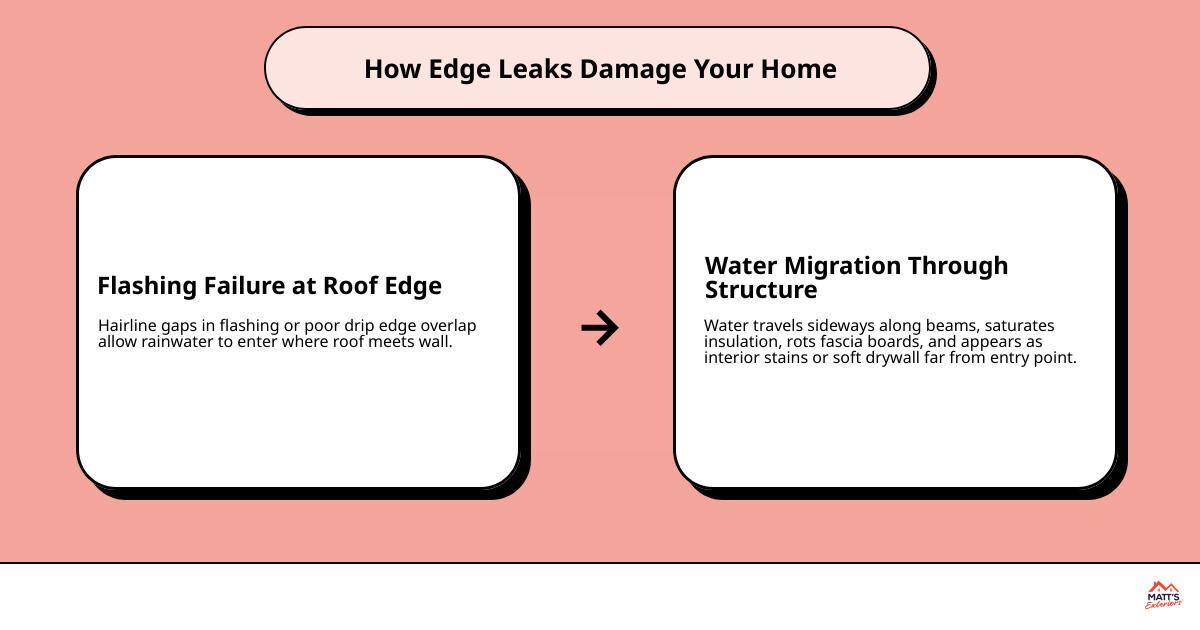
A flat roof leaking at the edge is one of the most damaging — and deceptive — problems a homeowner can face. Water doesn't just drip straight down. It travels sideways along beams, through insulation, and down wall cavities before showing up as a stain on your ceiling or a soft spot in your drywall.
Here's what to do right now if your flat roof is leaking at the edge:
Edge leaks are more complex than leaks in the middle of a flat roof. They involve the membrane, the drip edge, the flashing, and often the fascia boards underneath — all failing together or in sequence. Flashing failure alone is the single most common cause of flat roof leaks, and even a hairline gap can let in enough water to rot your fascia and soak your wall insulation before you ever notice a drip inside.
The damage you see is rarely where the water got in. That's what makes these leaks so costly when ignored.
I'm Matt Lopez, owner of Matt's Exteriors, a full-service exterior remodeling company based in Fayetteville, Georgia, serving Metro Atlanta homeowners since 2007. Over nearly two decades of roof repairs and replacements across the region, I've diagnosed and fixed countless cases of flat roof leaking at the edge — from minor flashing failures to full perimeter rebuilds caused by years of undetected water migration. Let's walk through exactly how to find the source, stop the damage, and keep it from coming back.
When we get a call for a flat roof leaking at the edge in Alpharetta or Marietta, we usually find that the culprit isn't a hole in the middle of the roof. Instead, it’s a failure where the roof meets the wall or the gutter line. Understanding where do flat roofs leak most is the first step toward a permanent fix.
Flashing is the metal "transition" piece that directs water away from joints. Because flat roofs don't shed water as quickly as sloped ones, these metal edges are under constant pressure. If the drip edge sections don't overlap by at least two inches, water can "wick" backward under the membrane. We often see installation errors where the membrane was laid over unprimed metal. Without a dedicated primer, the roofing material eventually pulls away from the metal, creating a hidden pocket for rain to enter.
In Metro Atlanta, our roofs deal with intense summer heat and sudden cooling during afternoon thunderstorms. This causes "thermal cycling"—the constant expansion and contraction of materials. Over time, TPO or EPDM membranes can shrink, pulling away from the perimeter. If the fasteners aren't dense enough at the edges, the membrane creates "fishmouths" (small open gaps) that invite water in.
A flat roof should never be truly flat; it needs a minimum slope of 1/4 inch per foot. Industry standards dictate that water should drain completely within 48 hours. If you see ponding water near your roof edges long after the clouds have cleared, you're looking at a ticking time bomb. Standing water accelerates the breakdown of adhesives and sealants, leading to a flat roof repair sooner than you’d like. Statistics show that leaks in poorly installed flat roofs often manifest within the first two years of service.
Detecting a perimeter leak early can save you thousands in structural repairs. Sometimes the signs are obvious, but often they are "sneaky" indicators that require a trained eye.
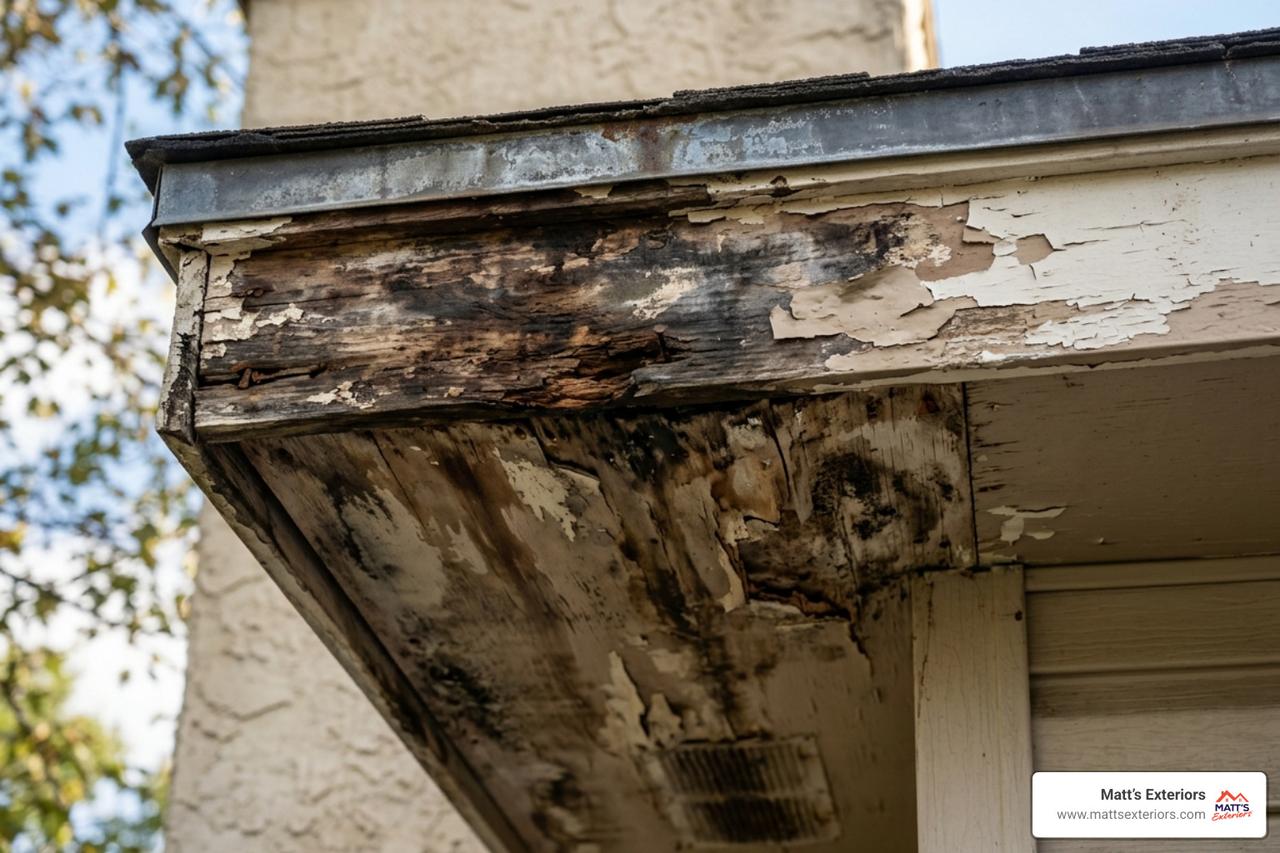
The most common sign of a flat roof leaking at the edge is visible damage to your fascia and soffits. If you notice wood rot, peeling paint on the boards directly under the roofline, or dark "algae patches" on your siding, water is likely escaping the roof membrane and running down the interior of your walls.
On the roof surface itself, look for:
Inside your home or business in Cumming or Peachtree City, keep an eye out for:
For a deeper dive into specific perimeter structures, check out our flat roof parapet leak guide to see how raised walls contribute to these issues.
Fixing a flat roof leaking at the edge isn't just about slapping on some "wet patch" cement. It requires a methodical approach to ensure the bond is watertight.
You cannot bond new material to a dirty roof. We start by scrubbing the area with a stiff-bristle brush and a specialized cleaner to remove dirt, oils, and biological growth. The area must be 100% dry before proceeding. Even a hint of moisture can cause the new patch to fail.
Whether you are using peel and stick roofing or a torch-down system, priming the metal drip edge is non-negotiable. We apply a high-quality primer to the metal and the existing membrane to create a "bridge" for the repair material. It’s also vital to match materials—applying asphalt-based products to an EPDM (rubber) roof can actually melt the membrane!
How do we find the exact entry point? We use the Triangulation Method. We measure the distance of the interior stain from two fixed points (like a corner and a window) and transfer those measurements to the roof. From there, we use moisture meters and infrared scans to "see" through the membrane. Sometimes, we perform a controlled water test with a garden hose, soaking small sections of the edge for 15 minutes at a time until the drip starts inside.
We see many homeowners in McDonough or Woodstock try to use silicone caulk. Please don't. Silicone has poor adhesion to many roofing membranes and will crack within a few months due to thermal expansion.
While roofing cement can act as a "bandage" during a storm, a permanent solution involves reinforced fabric embedded in liquid membranes or a full roof repair service that replaces the damaged flashing and saturated insulation.
Ignoring an edge leak is an expensive mistake. A simple repair today is significantly cheaper than a structural rebuild next year.
In April 2026, the average cost for a professional flat roof leak repair in Metro Atlanta hovers around $750 to $1,200. However, if the water has reached the fascia and rafter tails, a full perimeter rebuild can cost $15,000 or more.
Factors affecting your quote include:
Most insurance companies cover "sudden and accidental" damage (like a limb hitting the roof edge), but they often deny claims for leaks caused by "deferred maintenance." Keeping records of your repairs and inspections is vital for claim approval. At Matt’s Exteriors, we provide documented repairs that can help "reset" the age of your roof for insurance purposes.
The best way to fix a leak is to never have one in the first place. Given Atlanta's high humidity and heavy rainfall, a proactive approach is essential.
This is due to lateral water travel. Water enters at the perimeter, hits a structural beam or the vapor barrier, and "rides" that beam toward the center of the building before finally dripping through a seam in the drywall. This is why we always inspect a 15-to-20-foot radius around any interior stain.
Only as a 24-hour emergency stopgap. Silicone does not bond well to EPDM or TPO and will peel away as the roof heats up. Professional-grade polyurethane sealants or liquid-applied flashing systems are the only materials that provide a long-term bond at the edge.
A professionally executed repair using compatible materials and proper priming should last 5 to 10 years. However, if the rest of the roof is over 20 years old, new leaks may develop nearby as the entire system reaches the end of its lifespan.
A flat roof leaking at the edge isn't just a nuisance; it’s a threat to the structural integrity of your home. From Alpharetta to Senoia, Matt’s Exteriors has built a reputation on high-quality workmanship and trusted materials. With over 12,000 projects completed since 2007, we understand the unique challenges of the Metro Atlanta climate.
Don't let a small drip turn into a $15,000 structural nightmare. Whether you're dealing with rotted fascia in Marietta or ponding water in Fayetteville, our family-owned team is ready to help.
Schedule your professional flat roof inspection with Matt’s Exteriors today and let us stop the drip for good.