
Get Your Instant Quote Now!
Get Started
Siding installation is one of the most impactful upgrades you can make to your home's exterior — protecting it from weather, improving energy efficiency, and boosting curb appeal all at once.
Quick answer: Here's what a siding installation project involves:
The material you choose matters a lot. Here's a fast comparison:
Material Lifespan Relative Cost Key Strength Vinyl 20-40 years Low Affordable, low maintenance Fiber cement 30-50 years Medium-High Durable, fire-resistant Wood 20-40 years High Classic look, natural feel Composite 25+ years Medium Eco-friendly, low maintenance
Getting the installation right — especially nailing technique, expansion gaps, and moisture barriers — is what separates siding that lasts decades from siding that warps, leaks, or buckles within a few years.
I'm Matt Lopez, founder of Matt's Exteriors, a full-service exterior remodeling company based in Fayetteville, Georgia, with nearly two decades of experience in siding installation across Metro Atlanta. In that time, our team has worked on thousands of residential projects, partnering with leading manufacturers like James Hardie to deliver results that hold up against Georgia's heat, humidity, and storms. Let's walk through exactly what it takes to get the job done right.
If you want to move fast without sacrificing quality, you need more than just a hammer and a "can-do" attitude. In May 2026, the technology behind siding installation has evolved, but the core physics remains the same: your home needs to breathe, move, and shed water.
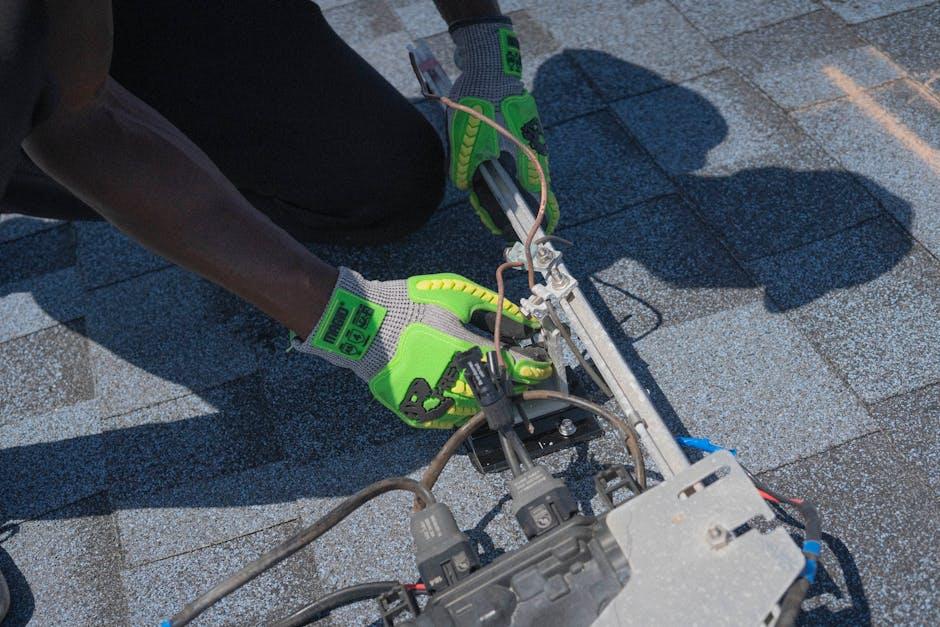
To get the job done efficiently, we recommend having these tools on hand:
Beyond the panels themselves, your material list should include high-quality Siding Services essentials like house wrap (weather-resistant barrier), flashing, and color-matched caulk.
Nothing kills momentum like running out of material when you’re 90% finished. In the industry, we measure siding in "squares." One square equals 100 square feet of wall area.
To estimate your needs, measure the height and width of each wall. Don't subtract for windows or doors unless they are exceptionally large (like a double garage door), as that "extra" material covers the waste created by cutting around those openings. We always recommend adding a 10-15% waste factor to your final number. This accounts for mistakes, overlapping joints, and the odd piece that gets stepped on.
Remember to order your accessories:
Choosing the right material is a balance of budget, aesthetics, and how much "homework" (maintenance) you want to do later.
Feature Vinyl Fiber Cement Wood Maintenance Very Low Low (needs paint) High (stain/seal) Fire Rating Melts Non-combustible Combustible 2026 Price Est. $6k - $12k $10k - $20k $12k - $25k
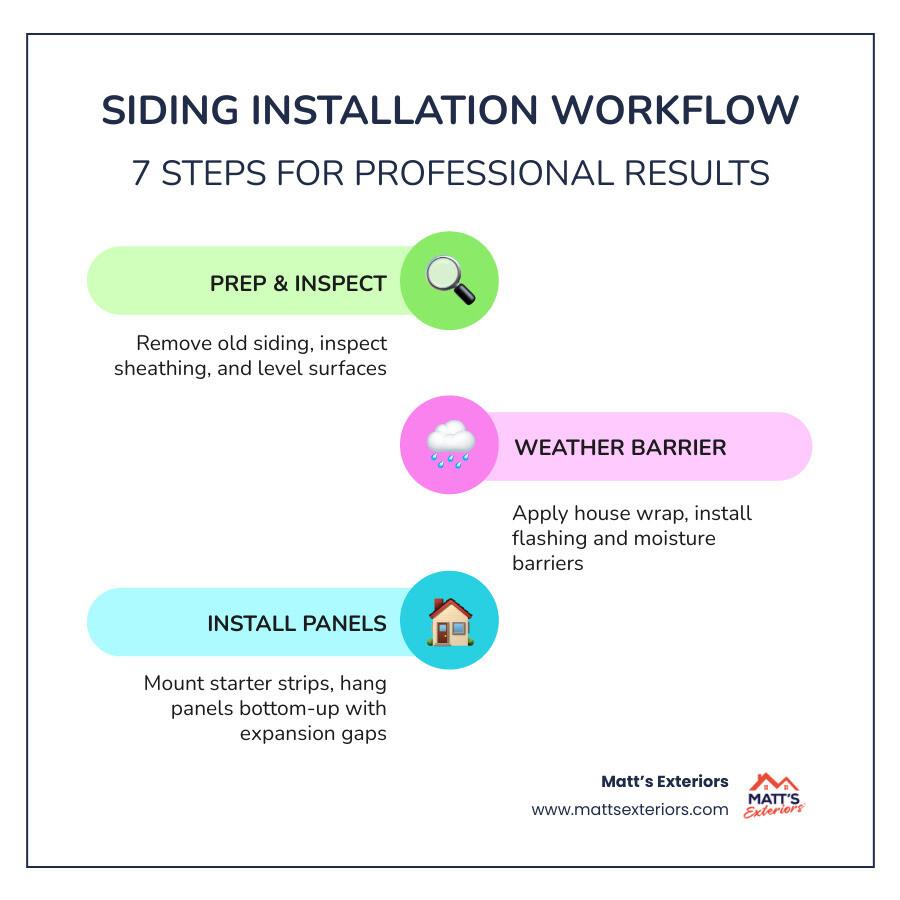
Whether you are in Alpharetta or Peachtree City, the process for a successful siding installation follows a strict order of operations.
For those specifically looking at timber options, How to Install Wood Siding requires acclimating the boards to the Georgia humidity for at least 5 days before they go on the wall.
You can’t build a straight house on a crooked foundation. Before the first panel goes up, we remove downspouts, shutters, and lighting fixtures. If the wall surface is uneven, we may install a foam backer board or furring strips to create a flat plane. This is also the time to Replace Exterior Wood Siding that has succumbed to rot, ensuring the new installation has a solid "skeleton" to hold onto.
When we start hanging panels, we follow the "lap away" rule. This means we overlap panels so the seams face away from the highest traffic area (usually the front of the house). This makes the seams nearly invisible to someone walking up the driveway.
For vinyl, always lock the panel into the one below it but don't pull it tight. It should feel loose. As noted in this How to Install Vinyl Siding resource, stretching the panels can lead to "oil canning" or waves in the siding when the sun hits it.
If there is one thing we want you to remember, it’s this: Siding needs to move.
Vinyl siding can expand and contract half an inch or more depending on the temperature. If you nail it tight to the wall, it will buckle and warp like a wet noodle in the Georgia summer.
To account for this movement, we follow three golden rules:
By Transform Your Home with Quality Siding using these techniques, you ensure your home stays beautiful through every season. If you ever see siding that looks "wavy," it's almost always because someone nailed it too tight. This is a common issue we address during Lifetime Warranty Siding Atlanta inspections.
Flashing is your last line of defense. We install drip caps over windows to direct water away from the casing. All seams in the house wrap should be taped with manufacturer-approved seam tape. If you have existing leaks, our Siding Repair Atlanta team often finds that the original installer skipped the flashing or installed it in the wrong order (overlapping "under" instead of "over").
We’ve seen it all in the Metro Atlanta area — from siding installed upside down to panels glued to the wall. Here are the big ones to avoid:
Can you do it yourself? Technically, yes. But should you?
A typical siding installation takes a professional crew 7 to 14 days. For a DIYer working weekends, that can easily stretch into two months. During that time, your home’s sheathing may be exposed to the elements. Furthermore, professional installation comes with warranties that a DIY project simply can't match.
We often see homeowners start a project and realize that working 20 feet up on a ladder while trying to level a 12-foot piece of siding is harder than it looks on YouTube. How Matts Exteriors Helps Homeowners Choose the Best Siding for Long-Lasting Curb Appeal involves taking that stress off your plate so you can enjoy the results without the sore back.
For an average-sized home in the Atlanta metro area, expect 7 to 14 days. This includes the tear-off of old materials, any necessary sheathing repairs, and the installation of the new system. Factors like bad weather, complex rooflines, or the need for custom painting can extend this timeline.
Yes, it is possible if the old wood is structurally sound, flat, and free of rot. You would typically install furring strips or a foam backer board first to create a level surface. However, we usually recommend a full tear-off. It’s the only way to guarantee there isn't hidden mold or structural damage lurking behind the old boards.
Fiber cement (like James Hardie) remains the gold standard for durability. It is resistant to fire, rot, and wood-boring insects (like those pesky Georgia woodpeckers). Composite siding with UltraShield technology is also a top contender in 2026 for its incredible resistance to UV fading and scratches.
The Metro Atlanta climate is tough on homes. Between the scorching July sun and the sudden spring thunderstorms, your siding installation needs to be flawless to protect your investment. Whether you're in Suwanee, Woodstock, or right here in Fayetteville, the key to success is using the right tools, allowing for thermal movement, and never skipping the prep work.
At Matt’s Exteriors, we’ve completed over 12,000 projects since 2007. We treat every home like it’s our own, ensuring that every nail is centered and every flashing is watertight. Once your new siding is up, remember to give it a gentle annual cleaning with a garden hose to keep it looking fresh.
Ready to transform your home? Check out our Siding Installation Atlanta options and let us help you build something that lasts.